Interested in Flow Control?
Get Flow Control articles, news and videos right in your inbox! Sign up now.
Flow Control + Get AlertsResilient wedge gate valves are widely used in water systems, as they serve the critical functions of supplying water, controlling flow, isolating sections of pipeline, and isolating pressure zones. Due to unexpected changes in valve orientation, it is not uncommon for valves to be reconfigured on site; this can be achieved through the addition of a gear operator to a non-geared valve or by changing the gear type (e.g. from bevel to spur or vice versa). Gear operator kits of all types are available from manufacturers for a wide range of valve sizes. It is advisable to seek assistance from a representative of a gate valve manufacturer before making any changes, including commissioning and repairs of the product.
Below are step-by-step instructions for addressing both types of configuration changes.
Tools required: Socket driver and socket set, Allen wrenches
Non-Gear to Gear Conversion
1. If the valve is commissioned in a line, isolate the valve from flow and relieve the line pressure. The valve must be kept in vertical position during conversion to allow for stem reinsertion.
2. Remove stuffing box bolts and turn the operating nut/stem in the closing direction until it has disengaged from the disc nut. At this point, the stem will be able to turn in the closing direction but will not continue rising out of the valve body.
3. Remove the stem/operating nut/stuffing box assembly by lifting the stem vertically out of the valve bonnet and set aside. Remove washer from bonnet recess.
4. Lubricate new thrust washer with approved grease and place in bonnet recess.
5. Lubricate stem threads and O-rings.
6. Install three new O-rings on geared stem.
7. Insert the geared stem into the bonnet, turning the stem in the opening direction until stem thrust collar is seated in bonnet recess. Continue rotating the stem two to three turns to ensure the stem is firmly seated. Lubricate and install thrust washer on top of thrust collar.
8. Place gear stuffing box over stem and install bolts to assemble stuffing box to bonnet.
9. Place flat gear gasket on the adapter plate. Fasten gear operator to the gear adapter plate with cap screws.


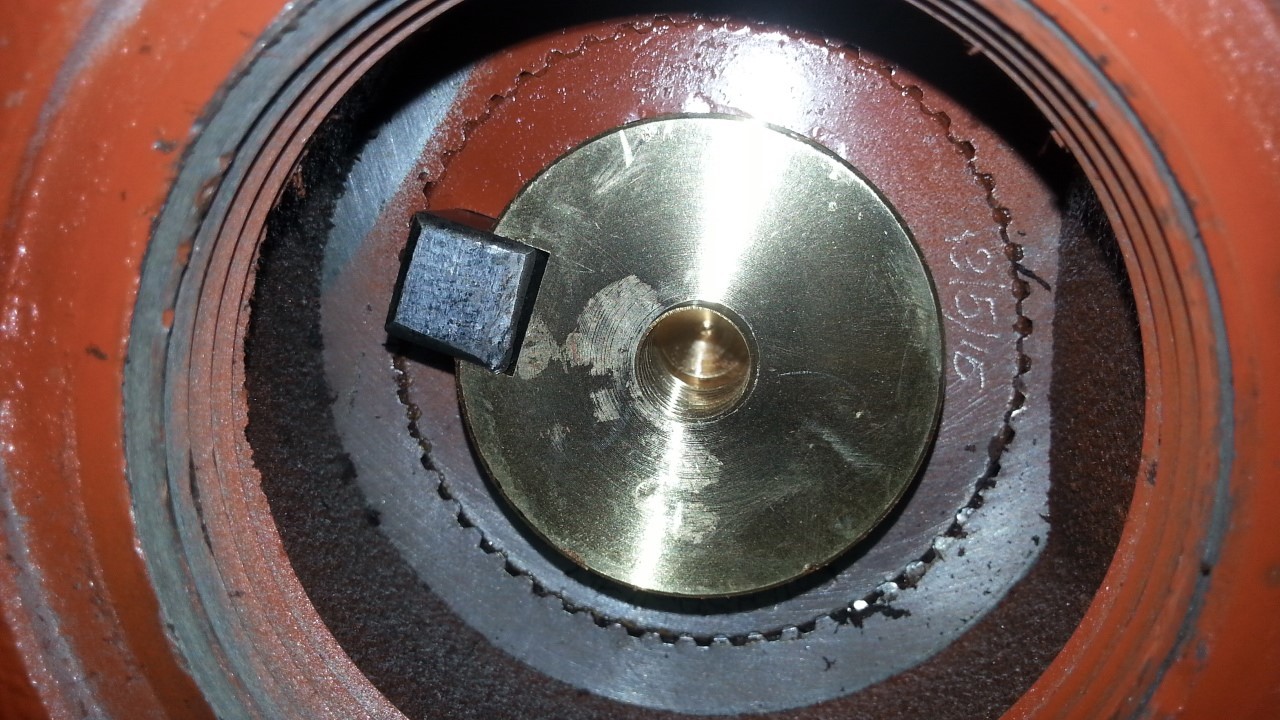
10. Place adapter plate and gear operator over the stem. On smaller valves (typically 12 inches and under), the drive sleeve must be aligned to the stem key before assembly. On larger valves (typically 14 inches and above), align the drive sleeve key slot to the stem key slot by rotating the operating nut. When aligned, insert the drive key in the slot until it is flush with the top of the drive sleeve.
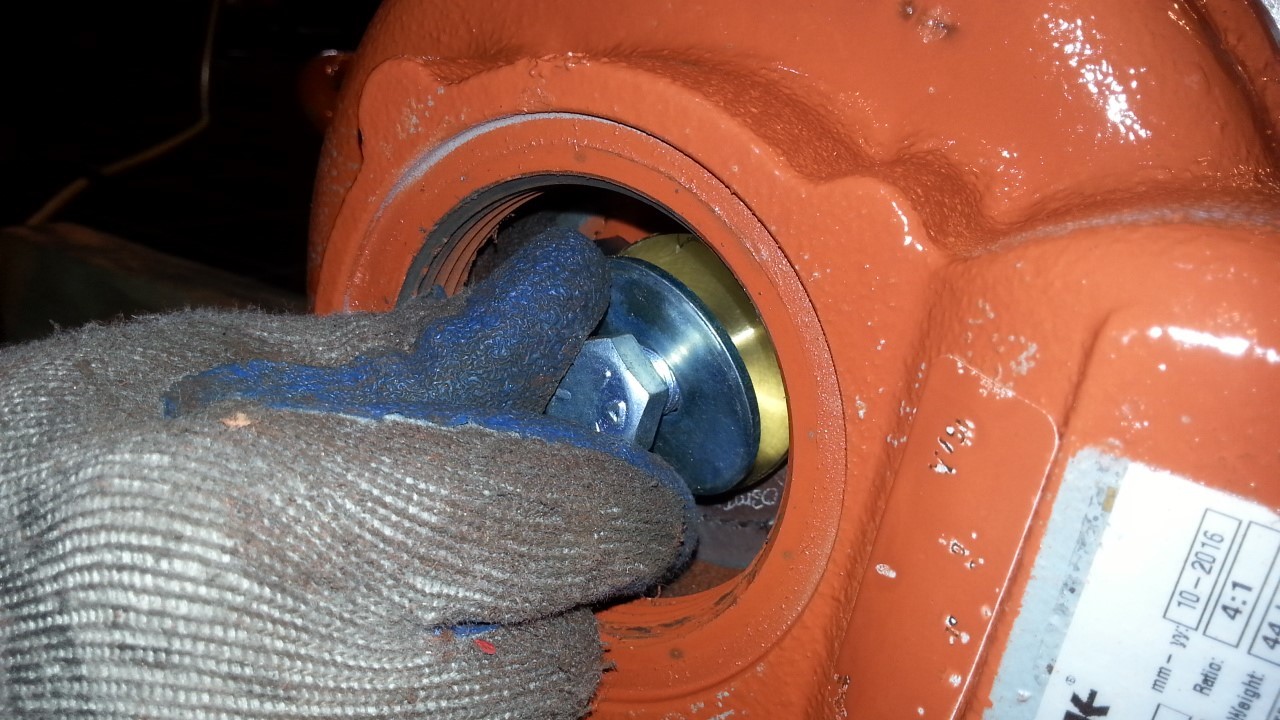
11. Install the hold-down cap screw and washer onto the top of the stem.
12. Rotate the adapter assembly to align the bolt holes with the stuffing box and fasten bolts to the manufacturer’s recommended torque. Reinstall cover on top of the gear.
Gear to Gear Conversion
1. Remove cover from top of old gear unit.
2. Remove the hold-down cap screw and washer from the top of the stem.

3. Remove bolts holding the adapter plate to the stuffing box. Remove adapter plate/gear assembly from valve.
4. Remove the four cap screws securing the gear assembly to the adapter plate. Set old gear unit aside. Remove flat gear gasket.

5. For large valves, ensure the drive key has been removed from the slot in the stem. For small valves, the key should remain in the stem.
6. Place flat gearing gasket on adapter plate. Place new gear unit on flat gasket. Secure gear to adapter plate using four cap screws.

7. Remove pipe plug from the new gearing unit.
8. Place adapter plate/gear assembly on the stuffing box. On small valves, the drive sleeve must be aligned to the stem key before assembly. Attach adapter plate to stuffing box.
9. For large valves, align the drive sleeve key slot to the stem key slot by rotating the operating nut. When aligned, insert the drive key in the slot until it is flush with the top of the drive sleeve.

10. For large valves, install the hold-down cap screw and washer onto the top of the stem. Reference manufacturer’s recommended torque for proper installation.

11. Install pipe plug onto new gearing unit.